
Combining Image 1 with Image 2
Page 1 of 1

Combining Image 1 with Image 2
![]() by HaywardG Fri Nov 20, 2015 4:25 pm
by HaywardG Fri Nov 20, 2015 4:25 pm
I'd like to move this discussion forward a little now and show what happens when we combine the geometry from Image 1 (Time and Hermes) with Image 2 (the mount).
Here is the result:
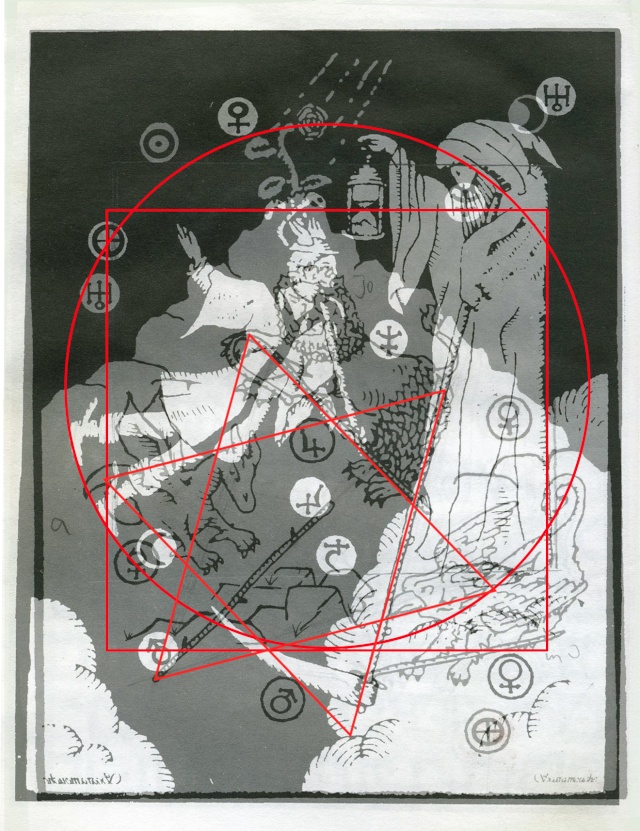

Here is the result:
HaywardG- Admin
- Posts : 72
Join date : 2015-09-13 -

Re: Combining Image 1 with Image 2
![]() by HaywardG Wed Dec 09, 2015 11:00 am
by HaywardG Wed Dec 09, 2015 11:00 am
Here is how you know that the geometry given works perfectly within the shape of the square and the shape of the circle. If you draw two lines from corner to opposite corner in the square, the hexagram will align on one edge with one line, and then the other line will intersect with two point on the hexagram. Also, note how the bottom right point of the hexagram rests on the circle and the upper left point rests on the square. In addition, the lower left intersection of the hexagram also intersects with the square at precisely that point.
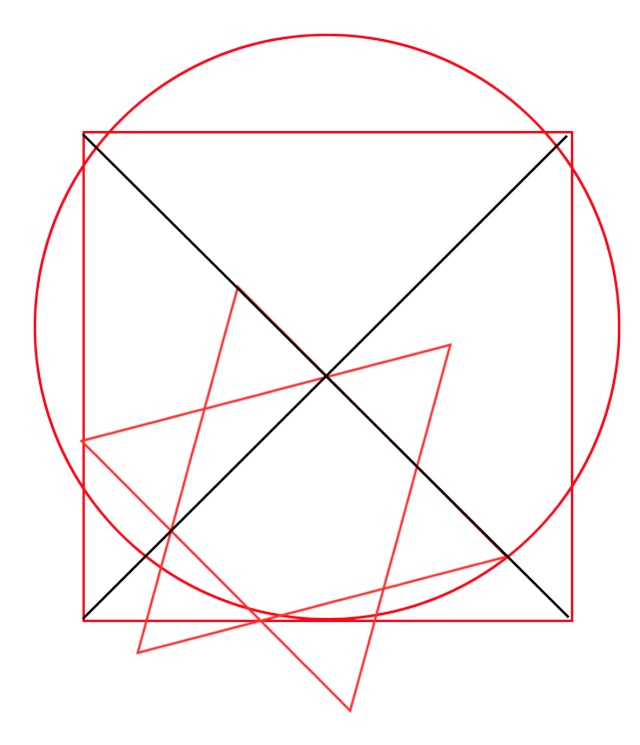
The next image in the book will show and point these features out, to ensure that the shape is correct.
The next image in the book will show and point these features out, to ensure that the shape is correct.
HaywardG- Admin
- Posts : 72
Join date : 2015-09-13 -
» Image 1- Time and Hermes
» Image 5 - The Serpents and the Staff of Tiresias
» Image 3 - David and the symbol of his son's treasure guardian
» Image 2- The Mount Under the Divine Truth Swaying in the Breath of Zeus
» Image 5 - The Serpents and the Staff of Tiresias
» Image 3 - David and the symbol of his son's treasure guardian
» Image 2- The Mount Under the Divine Truth Swaying in the Breath of Zeus
Page 1 of 1
Permissions in this forum:
You cannot reply to topics in this forum|
|
|